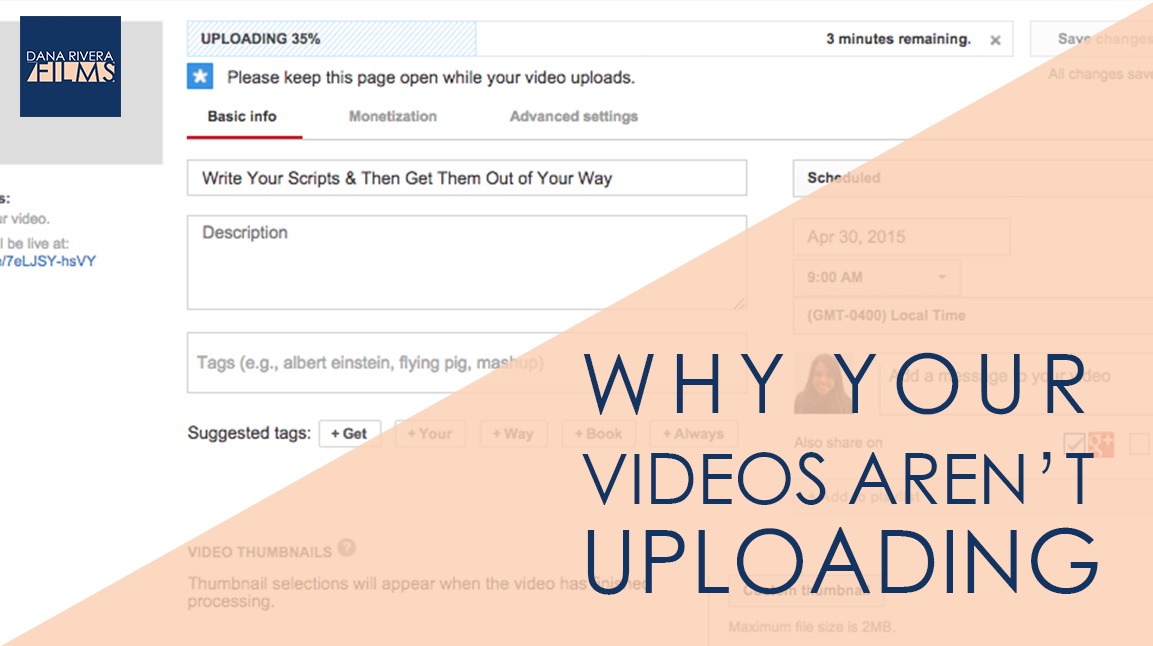
Why Your Videos Aren’t Uploading

Why Your Videos Aren’t Uploading

Today, I am going to share with you why your videos aren’t uploading. We are going to get technical here because it is a technical answer, but hopefully it’ll give you some insight into why and how you can fix the problem.


When you send your edited video out of Imovie or Camtasia, what the program is doing is something we call exporting.

*It is taking your video and according to the settings you choose making it smaller and putting everything into one watchable file.

Most of the time you will be exporting for the web, so YouTube, Wistia, or Vimeo. Most of the editing programs has a preset for youtube and Vimeo. It’s that .mp4 that you usually end up with.


Those exported files are what gets uploaded to the web. Now, what slows down or crashes the upload process is a combination of two things: your internet speed and the bitrate of your exported file.


For HD 1080p video your target bitrate for youtube should be around 8mbps. That means that every second of your video will be made up of 8mb so for a 5 minute video that’s 2400 mb or 2.4 gb. The higher the quality of your video the bigger it’ll be.


Now, internet speed is broken down into download and upload speeds. It’s important to know both numbers, but what we are concerned with here is that upload number. If your internet upload speed is 2mbps which is usually part of an intermediate package, and you are lucky enough to have it running at full speed when you are uploading, it’ll take about 1200 seconds or 20 minutes. These are best case scenario numbers. Most of the time your internet speed will fluctuate especially during peak hours which are usually from about 5pm to 1am.


So you are going to run into some real upload issues if you are uploading let’s say a 30 minute file and your upload speed is 2mbps. It’ll take about 120 minutes or 2 hours. If you are doing this over wifi chances are your speed, isn’t at its max 2mbps and that 2 hours will increase and maybe even just crash as the speed starts to fluctuate.


But don’t lose hope because there are 2 ways to fix this: 

  1. Invest in a higher internet speed. 5-6 mbps should work great for you. It works for me and I’m constantly uploading videos.
  2. Export your videos at a lower resolution. You can still get HD video at 720p which is smaller than full HD 1080p. The bitrate for 720 is about 5mbps so for a 5 minute video your total would be about 1500 mb instead of 2400 and would take 12.5 minutes. And you’ll still have a great looking video.

Let me show you in Imovie and Camtasia how to change these settings.

In Imovie, go to share, then export using quicktime. Click on the Options button and then video settings. Make sure the compression is set to H.264. Go to the data rate, change to optimized for streaming and then put in your target rate which would be 5 mbps but its asking for kbits. There are 1000 kbits in a mb so 5mb would be 5000 kbits. So put in 5000 and hit ok. Then go to size and choose HD 1280 x 720 16:9 . Then hit ok, title your file and save it.
In Camtasia, we are going to put in the same settings. Go to Share, then advanced export. Change the file format to Quicktime movie. Then click Options. Make sure the compression type is H.264 and set the dimensions to 1280 x 720 HD. Then click ok, title it, and save. And that’s it!

*My last tip would be to make sure you are hardwired with an ethernet cable to really get your max speed.


So again

Your internet speed + the bitrate of your video = how long your upload is going to take

Don’t let these technicalities get in the way of getting your content online.

 
If you want more tips to creating online video, download your guide to the Top 5 Video Tools that will help you make beautiful online videos for your business Or if you really ready to dive in join my free course to Amp Up You Online Video Presence. By signing up you’ll also get exclusive Tips, Tricks, How-to’s and my personal insights about editing and using Online Videomaking in your business that I only share with my VIP storytellers.


If you liked this post please comment and share. I’d love to hear from you.

Download the "How to Reach, Grow, & Teach Your Online Community" guide AND be of service like crazy!

Pick and choose the types of video you'd love to create, get your tools, and start creating!

You got it! Check your inbox!

Why You Shouldn’t be Using Video Marketing

Why You Shouldn’t be Using Video Marketing

Today, we are going to talk about how video marketing is not the way to reach your community.

Now when I say that video marketing is not the way to go, what I’m talking about is the mindset that comes with video marketing.

When you think video marketing you think commercials, SEO, corporate cliches, and manipulating your people into buying from you.


I don’t know about you but that just doesn’t feel good to me. It feels intimidating and like it just doesn’t align with my message and who I am. And I’m sure that as a purpose driven entrepreneur you have felt the same thing.

That’s the reason I don’t tell people that my business is video marketing. I’m in the business of community filmmaking for purpose, cause driven women entrepreneurs. It might sound silly to call it something different but it really creates a different mindset and reaction and keeps me in line with how I want to connect with people in a very real meaningful way.


So what I challenge you to do is when you are thinking about how video can work for you ask yourself “How will this video help to create relationships with the people I serve?”


Use video to be yourself, show how you work, answer questions that you got from a follower. Think like a documentary filmmaker: what are the small moments that you can share? that can connect people or peak their interest. Tell stories, not a carefully scripted story to sell something, but instead an interesting story that you heard or from your childhood, or something that happened to you this morning.


If you hate dressing up and putting on makeup then don’t. Put on your favorite t-shirt and sit indian style on a chair. Get comfortable.

Don’t just create a video because somebody said it’ll get you more leads. Alway make sure that your videos will create connections between people and thoughts.

That it will spark real conversations that people can get excited about.  And by doing this you will truly attract and work with people that need your help.


So again, we aren’t video marketing we are telling stories and connecting with our communities through imagery and moments caught on tape.

 
If you want more tips to creating online video, download your guide to the Top 5 Video Tools that will help you make beautiful online videos for your business Or if you really ready to dive in join my free course to Amp Up You Online Video Presence. By signing up you’ll also get exclusive Tips, Tricks, How-to’s and my personal insights about editing and using Online Videomaking in your business that I only share with my VIP storytellers.


If you liked this post please comment and share. I’d love to hear from you.

Download the "How to Reach, Grow, & Teach Your Online Community" guide AND be of service like crazy!

Pick and choose the types of video you'd love to create, get your tools, and start creating!
You got it! Check your inbox!

Why You Should Write Your Scripts and Then Throw Them Away

Today, I am going to reveal to you why you should write your scripts and then get them out of your way.


Since I started creating my own video blogs I started thinking about how long I was taking to write my scripts and then read them word for word to the camera. I watched my videos and I looked so stiff and not connected to my message and all of you. So I decided to actually take my own advice and I changed my process to this:
First, I still write out my script, that way I could have a pseudo transcript and text for my blog post. I can also organize my thoughts. I also mark where I could insert some B-Roll imagery. This lets me know what ideas I should get through completely without stopping and where I can pause.

Second, I pull out the important bullet points and make them bold and big. That includes my intro and call to action at the end.

Third, I put my script away!

When I film now, I have my bullet points on my handy ipad, next to me, just so I can refer to it. But I try my best to just get my thoughts out there and later in editing I can make sure I’m getting to the point and add all my graphics and B-roll.

This way I can get out of my head and into the moment of when I’m speaking with you.


BUT I still believe in writing scripts and planning so please keep doing this. Just put the script away when it’s time to film. With some practice this will make all the difference, in you coming across as genuine, caring and trustworthy. 

 
If you want more tips to creating online video, download your guide to the Top 5 Video Tools that will help you make beautiful online videos for your business Or if you really ready to dive in join my free course to Amp Up You Online Video Presence. By signing up you’ll also get exclusive Tips, Tricks, How-to’s and my personal insights about editing and using Online Videomaking in your business that I only share with my VIP storytellers.


If you liked this post please comment and share. I’d love to hear from you.

Download the "How to Reach, Grow, & Teach Your Online Community" guide AND be of service like crazy!

Pick and choose the types of video you'd love to create, get your tools, and start creating!
You got it! Check your inbox!

YouTube Annotations vs. Cards

YouTube Annotations vs. Cards

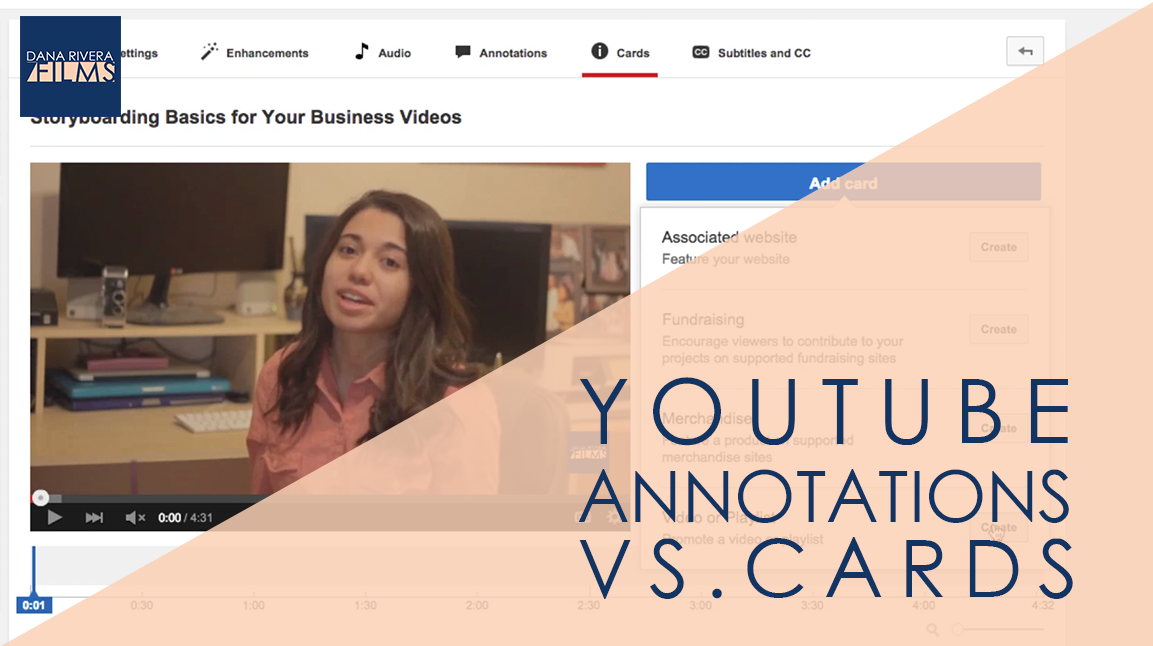
Today, we are going to be talking about the YouTube cards and annotations.

I’m sure you’ve heard about the new card feature that Youtube just released that will eventually replace annotations. They both allow you to link directly on your videos to your call to action whether that is to sign up for your email list, purchase your product, or check out another one of your videos.


Originally this was going to be all about how to use annotations properly, but since cards came out I thought I’d tell you about the three things you should know.

1. Cards are mobile friendly

This is huge because the use of mobile devices is growing everyday. Now, all those people who couldn’t click directly to your website before now can.

2. You can upload images to cards and it really is just nicer looking

This is what they look like. You can see that it looks pretty nice, you get an image that’s attractive and a title there, so you don’t have to create an image in editing that you then link with annotations.

3. You can’t move cards around or choose their size

You can move around and change the colors of annotations, but you can’t for cards. AND you are limited to five per video.


Now let me show you how to add an annotation vs how to add a card.

For an annotation click on the edit button for video you want to work with in your video manager. Then click on annotations at the top. Then you can click on a point in the video that you want to add an annotation here at the bottom. On the side you can choose the type of annotation. If you click through them you can see what they do. The one I use most often is spotlight because I usually create the images that I want to link while I’m editing the video. So I create a spotlight annotation over it, set the duration and then link it.

Annotations are as easy as that. One thing you want to make sure you do is have your website verified in your settings so that you can link to it in your annotations.


Now this is how you add a card. Click on cards right at the top. Again choose the time you want the card to pop up, then  click Add Card. THen choose what type of link you are adding. Type in your url and then the rest of your options should pop up. You can upload an image, add a title and call to action text. And then click Create card and there you go.


So let’s recap, the three big differences between annotations and cards are

  1. Cards are mobile friendly
  2. You can upload images to cards and it really is just nicer looking
  3. You can’t move cards around or choose their size

 
If you want more tips to creating online video, download your guide to the Top 5 Video Tools that will help you make beautiful online videos for your business Or if you really ready to dive in join my free course to Amp Up You Online Video Presence. By signing up you’ll also get exclusive Tips, Tricks, How-to’s and my personal insights about editing and using Online Videomaking in your business that I only share with my VIP storytellers.


If you liked this post please comment and share. I’d love to hear from you.

Download the "How to Reach, Grow, & Teach Your Online Community" guide AND be of service like crazy!

Pick and choose the types of video you'd love to create, get your tools, and start creating!
You got it! Check your inbox!

How to Reuse Your Footage

How to Reuse Your Footage

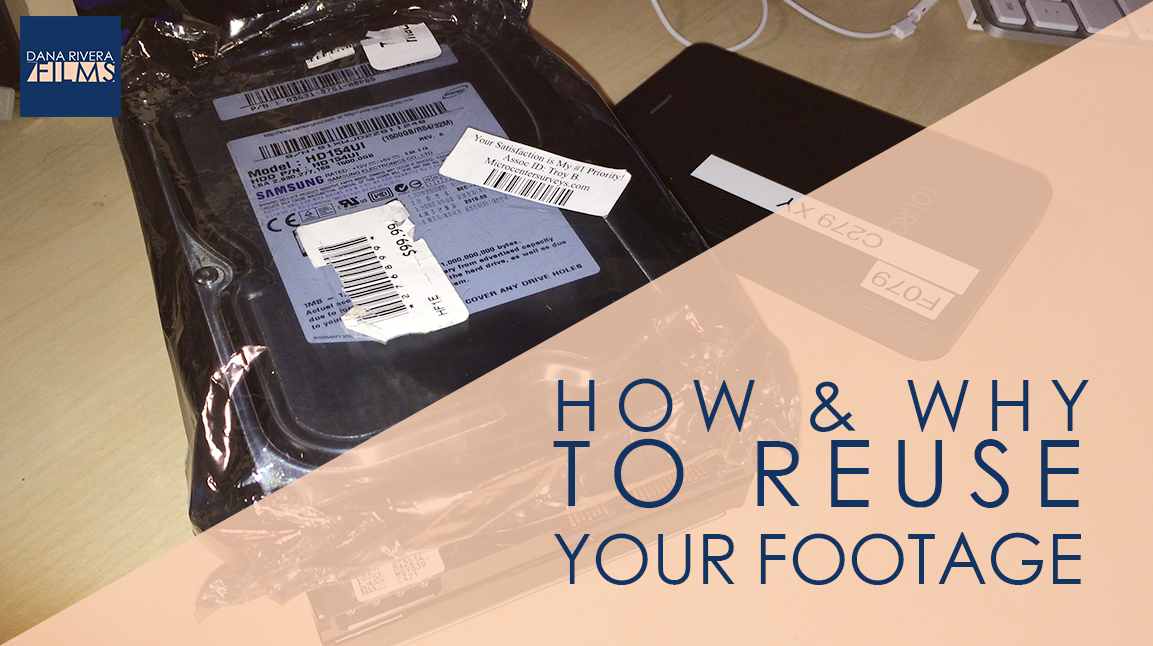
Today, we are going to be talking about how you can and should be reusing your video footage.

Yes, creating videos takes a lot of time and effort and sometimes even money, so you need to be thinking of ways that you can use what you already have.

I keep a harddrive with all of my footage for each project that I’ve ever worked on, so that I can easily pull a clip here or a clip there, for a new project. So please don’t delete anything even if its the first video you ever made and you really hate it. Because you know what, you might want to create a before and after video showing your progress from your first video to where you are now.


So here are some quick ideas for what you can do with all of that footage that’s just laying around.

  1. A Youtube channel trailer with snippets from each of your videos. If you are really into it you can string together lines from each video so that they create a message. Here’s an example I created for a client. 
  2. A year in review where you sum up what your business has been up to. Here’s an example from Google and Fine Bros Entertainment 
  3. Take videos that were once public, package them into a series and use them as an optin. An example is my Amp Up You Online Video Presence training.
  4. Update an old video with a new development instead of creating an entirely new one. This mostly applies to tutorials. For example, a tutorial about facebook ads which is constantly changing.
  5. Create a promotional video for your homepage. Here’s an example I created for a client. 


Those are just scraping at the long list of things you can do. Remember, you can create totally different stories with the same footage through editing. Don’t be afraid to chop things up and try them out. You’d be surprised at how two clips that originally had nothing to do with each other now tell a great story.

 
If you want more tips to creating online video, download your guide to the Top 5 Video Tools that will help you make beautiful online videos for your business Or if you really ready to dive in join my free course to Amp Up You Online Video Presence. By signing up you’ll also get exclusive Tips, Tricks, How-to’s and my personal insights about editing and using Online Videomaking in your business that I only share with my VIP storytellers.


If you liked this post please comment and share. I’d love to hear from you.

Download the "How to Reach, Grow, & Teach Your Online Community" guide AND be of service like crazy!

Pick and choose the types of video you'd love to create, get your tools, and start creating!

You got it! Check your inbox!

Page 6 of 25« First...45678...20...Last »