Using Video in Email

Using Video in Email

In this video, I’m going to share why I’ve started using video even for my personal emails.


Since starting my business I’ve come to hate email, hate writing them, sending them and receiving them. I’ve been so overloaded with email subscriptions and email marketing that I don’t even want to write personal emails.


But I recently connected with an awesome entrepreneur who doesn’t write emails. Instead she records videos and tells the person receiving the email to just watch the video. How cool is that?!


It was great because you could see and hear her and she could explain her thoughts with so much more ease than spending so much time on writing out carefully worded emails.

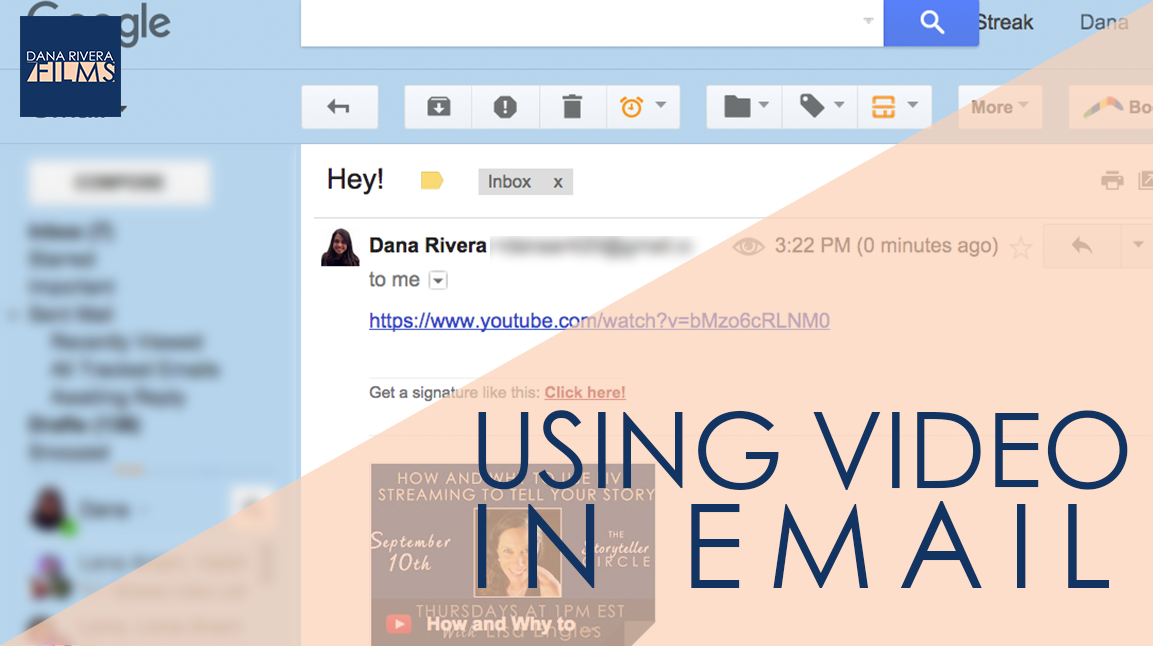
And all you need is a webcam and google hangouts. You can just start a private or unlisted event on youtube, start your broadcast, talk to your camera, hit stop broadcast when you are done and it will instantly be recorded to your youtube video manager . You can make it private and share via G+ or unlisted and share via email.

I’ve started doing the same thing, especially if I need to explain something complicated. And I love it!


Go ahead and try it out. I guarantee you’ll have fun!


Now, I’d like to hear from you, what’s your biggest video question? Let me know in the comments below.


If you liked this video, don’t forget to subscribe and share it with your friends. If you want more, come on over and the Storyteller Circle, my private Facebook group filled with wonderful entrepreneurs like you that are looking for more support in crafting their video stories and an inspirational community. I adore the people in this group so I post some of my best stuff there. When you join you’ll instantly get a bonus gift “How to Reach, Grow & Teach Your Online Community With Video”. Just click the button below. And remember Tell Your Story. Inspire Action. Make a Change. Thanks for watching and I’ll see you next time! 


If you liked this post please comment and share. I’d love to hear from you.
Want to use video to grow your biz AND be of service like crazy?

Get your guide to pick and choose the types of video you’d love to create, get your tools, and start creating!

How to Color Correct

How to Color Correct

In this video, we are going to talk about color correcting and even saving your footage in post!


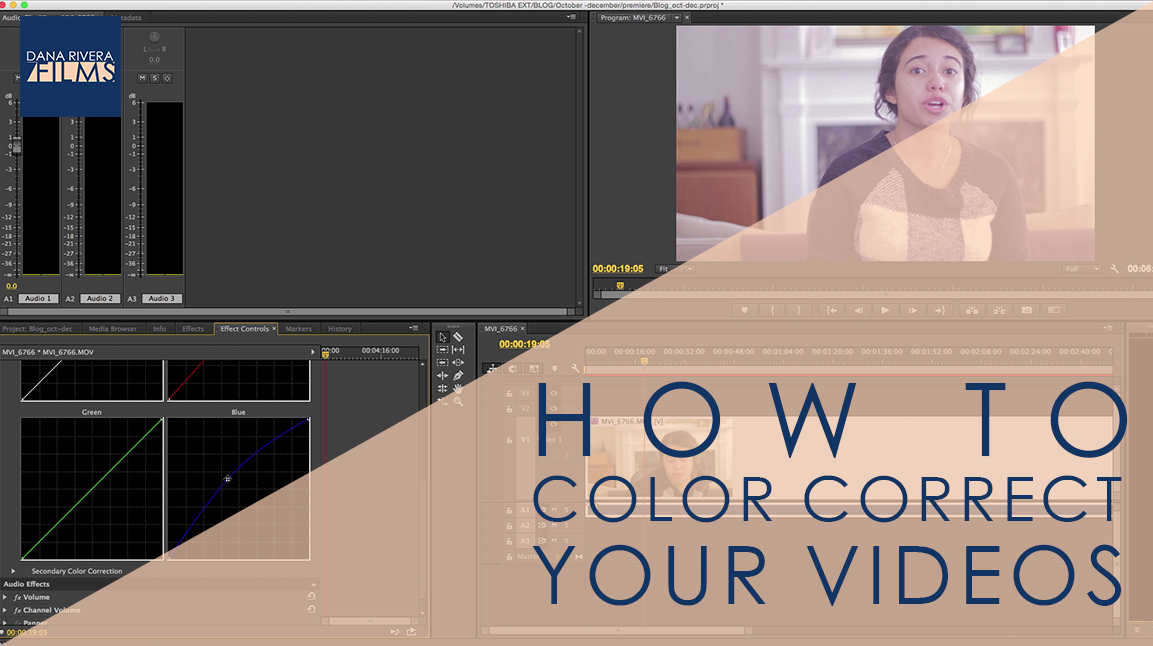
SO let’s define what color correction is. In editing you can do this magical thing where you change the color of your footage and adjust the brightness and darkness. So let’s say your video is too dark or too blue and your skin tone just doesn’t look right. With a few controls you can adjust the image so that it looks more natural.


Before we jump into how to use the tools let’s talk about the theory behind it. Color in a video signal is made up of only three colors Red, Green, and Blue.

So that yellow in your image is made up of a combination of Green and Red. Think back to elementary school and how colors combine to make others. So if your image is too yellow you’ll have to lower the level of the Green and Red in the image or increase the blue. If you don’t have skin tone looks too bland or grey try increasing the red and decreasing the blue.


Now, I’m going to show you the tools in iMovie and Camtasia and you can see exactly what I mean.

In Camtasia there are two effects called Color Adjustment and Colorize. You can drag it onto your clip and then the controls pop up over here on the right.

What I recommend you do is apply color adjustment first. Bring all of the values to 0, that way you can see the starting state of your video.

Then if you need to brighten or bring up or down the contrast. If you want to make the colors richer bring up the saturation. Then you can add colorize to add more of one color to balance things out.


There’s a funny trick that pro editors and filmmakers use. When we shoot or color correct we first flatten out the image, which means taking out the richness of the colors. This makes it much easier to then tweak your colors and get a great balanced image. So we will do this by bringing down the saturation. Then we use colorize to add the colors back in in the right proportion.


Let’s move over to iMovie. All you have to do here is open up your project file and click on a clip. Up here right above the preview of the video there are two icons. One that looks like a circle that’s half black and half gray and an icon that looks like a painters palette.


Click on the circle and you’ll see that you can choose “auto” which lets iMovie do its own thing. I don’t recommend using this feature. Then there’s the match color, white balance and skin tone balance features.

Match color allows you to make sure that your videos colors match. So let’s say you were filming in front of a window and the sun started to go down, so half of your footage is brighter than the other and some is maybe more orange. This feature allows you to pick the frame that you want the clip you chose to match.

White balance fixes the issue of your video being too yellow or too blue so what you would do here is use the eyedropper to choose the part of the frame that you want to match the rest of the frame to. In iMovie this feature doesn’t work as well as in the more professional programs. You can also use this little on and off switch to compare the video to before and after the change you applied.


I personally like the painters palette feature much better. So here you can adjust color temperature to add more blue or more yellow. You can adjust the darkness, brightness, and quality of the midtones. And finally you can adjust the saturation or richness of your colors.


And that’s how you color correct. So remember that you have to think in Red, Blues, and Greens and really evaluate what your image needs to look better.


Now, I’d like to hear from you, what’s your biggest video question? Let me know in the comments below.


If you liked this video, don’t forget to subscribe and share it with your friends. If you want more, come on over and the Storyteller Circle, my private Facebook group filled with wonderful entrepreneurs like you that are looking for more support in crafting their video stories and an inspirational community. I adore the people in this group so I post some of my best stuff there. When you join you’ll instantly get a bonus gift “How to Reach, Grow & Teach Your Online Community With Video”. Just click the button below. And remember Tell Your Story. Inspire Action. Make a Change. Thanks for watching and I’ll see you next time! 


If you liked this post please comment and share. I’d love to hear from you.

Want to use video to grow your biz AND be of service like crazy?

Get your guide to pick and choose the types of video you’d love to create, get your tools, and start creating!

From Vlogs to an Online Show

From Vlogs to an Online Show

In this video, I’m going to share 3 steps you can take to move your Vlog to an online show.


There is a big difference between a Vlog where you express your thoughts spontaneously and an engaging online show. They are both great options and I always recommend starting off with Vlogs to get your feet wet and get comfortable on video. But I always push my storytellers to upgrade their strategies and start creating shows that really get them passionate followers. This doesn’t mean that you need to be like Marie Forleo. This just means implementing some simple strategies in way that is aligned with you and your community.


So let’s jump in. The first three steps you can take are:

1. Create an editorial calendar. consistency and reliability are soo important on youtube. I recommend you pick a day and commit to releasing content at least every other week on that day. Then instead of thinking of topics on the fly as you are filming, brainstorm topics and schedule them out. That way when you film you aren’t wasting time thinking of topics and working out your ideas. Include when you will film and edit in this schedule. This will help you plan for launches or events as well, so you don’t have to worry about your videos when you are super busy with serving your clients.


2. Brand your videos. having a simple intro and outro graphic can work wonders. Add a simple lower third (that’s the text with your name and professional title) or on screen text graphics that reinforce what you are saying. Or even adding awesome thumbnails that match or slapping your logo onto the lower right hand corner throughout your videos. All of these things would match the colors and emotion of the branding of your business.


3. Have a consistent visual style. What I mean by this is just using the same background, colors, and style of shooting to your videos. So if for your Q&A videos you want to shoot them in front of your desk, then stick to that. And let’s say you switch to a softer living room background when you interview guests. Don’t let your constant change in scenery distract your viewers. Unless you use it to your advantage. One example is if your business or brand has an element of traveling. Then feel free to film videos in different locations as your travel.


For a bonus step check out my last video about creating structure and segments for your videos. 


Now let’s recap to go from Vlog to an online show:

1. Create an editorial calendar

2. Brand your videos

3. Have a consistent visual style


Now, I’d like to hear from you, what’s your biggest video question? Let me know in the comments below.


If you liked this video, don’t forget to subscribe and share it with your friends. If you want more, come on over and the Storyteller Circle, my private Facebook group filled with wonderful entrepreneurs like you that are looking for more support in crafting their video stories and an inspirational community. I adore the people in this group so I post some of my best stuff there. When you join you’ll instantly get a bonus gift “How to Reach, Grow & Teach Your Online Community With Video”. Just click the button below. And remember Tell Your Story. Inspire Action. Make a Change. Thanks for watching and I’ll see you next time! 


If you liked this post please comment and share. I’d love to hear from you.
Want to use video to grow your biz AND be of service like crazy?

Get your guide to pick and choose the types of video you’d love to create, get your tools, and start creating!

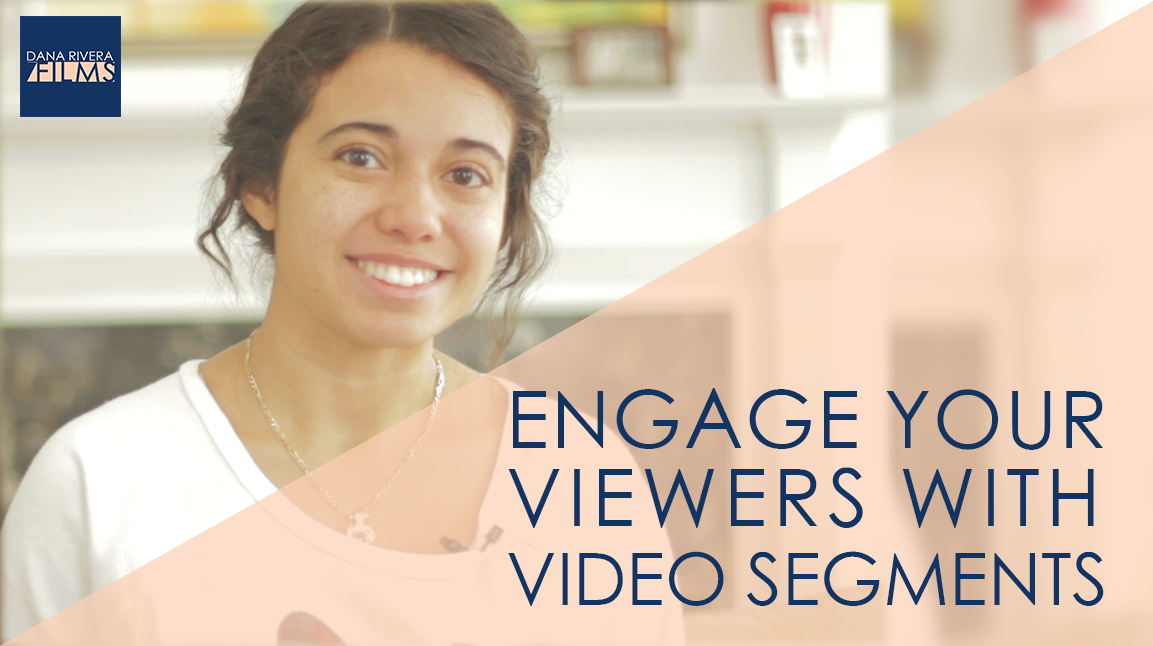
Engage Your Viewers with Video Segments

Engage Your Viewers with Video Segments

In this video, I’m going to share with you how to engage your viewers by adding segments and structures to you videos.


Have you ever watched TV shows and thought to yourself “oo I can’t wait until they get to the part when they talk about…” You’re looking forward to a certain part in the show. What most of us don’t realize is that TV shows have structures and segments, so that you know what’s coming in each episode.

Last Week Tonight is a great example. John Oliver starts off with a summary of the week, then he dives deep into one hot topic or issue for most of the show. During his discussion of this big topic he throws in a quick segment to lighten the mood with it’s own graphic like “the most patient man on Television”. And at the end you can almost always expect a funny song or piece of creative entertaining satire that he produced.

This is how you grow an audience of awesome fans and keep them coming back to watch more.


This is also how you take the step from a Vlog to a youtube show.

You can add segments to your youtube videos just on a much smaller scale since on youtube we are talking about 3­5 minute videos. So let’s say you are a wellness and nutrition coach, you can have a quick 5 seconds for your “food pick of the week” or if you are a business coach you can have your “favorite online tool of the week”.


Something else that you will definitely want to do is have categories or series of videos that your audience can expect to see on the same days with the same structure. So let’s say you are a conscious business coach and have 3 series on your YouTube channel “Tuesday Q&A”, “Marketing tips” on Wednesdays, and “Meditative practices” on Thursdays.


On my channel, I release a video every other Thursday and I have 3 series: “technical tutorials”where i show you step by step, usually in a screencast, how to do something technical related to video, “storytelling and editing quick tips” where I give a short tip that you can implement right away related to crafting video stories, and “online video strategy” where I explain concepts for you to think about and apply to your strategy.


Now, I want you to think about how you can add segments and structures to your videos. What’s one thing that you want your audience to expect from you? What kinds of series can you create?


Now, I’d like to hear from you, what’s your biggest video question? Let me know in the comments below.


If you liked this video, don’t forget to subscribe and share it with your friends. If you want more, come on over and the Storyteller Circle, my private Facebook group filled with wonderful entrepreneurs like you that are looking for more support in crafting their video stories and an inspirational community. I adore the people in this group so I post some of my best stuff there. When you join you’ll instantly get a bonus gift “How to Reach, Grow & Teach Your Online Community With Video”. Just click the button below. And remember Tell Your Story. Inspire Action. Make a Change. Thanks for watching and I’ll see you next time! 


If you liked this post please comment and share. I’d love to hear from you.
Want to use video to grow your biz AND be of service like crazy?

Get your guide to pick and choose the types of video you’d love to create, get your tools, and start creating!

How to Download Your Videos

How to Download Your Videos

In this video, I’m going to share a quick trick to get your videos from youtube and onto your computer.


One of the great features of hosting sites and specifically YouTube is that they allow you to download your videos once you’ve uploaded them. Now why would you want to do this?


1. You’ve lost the original video that you had saved on your computer and you need to edit

it again or upload it onto another hosting site

2. You had a google hangout and you want to edit it down or save it

3. You want to delete a video from youtube but you want to save it on your computer first


There are many more reasons that you might want to download your video from your hosting site.


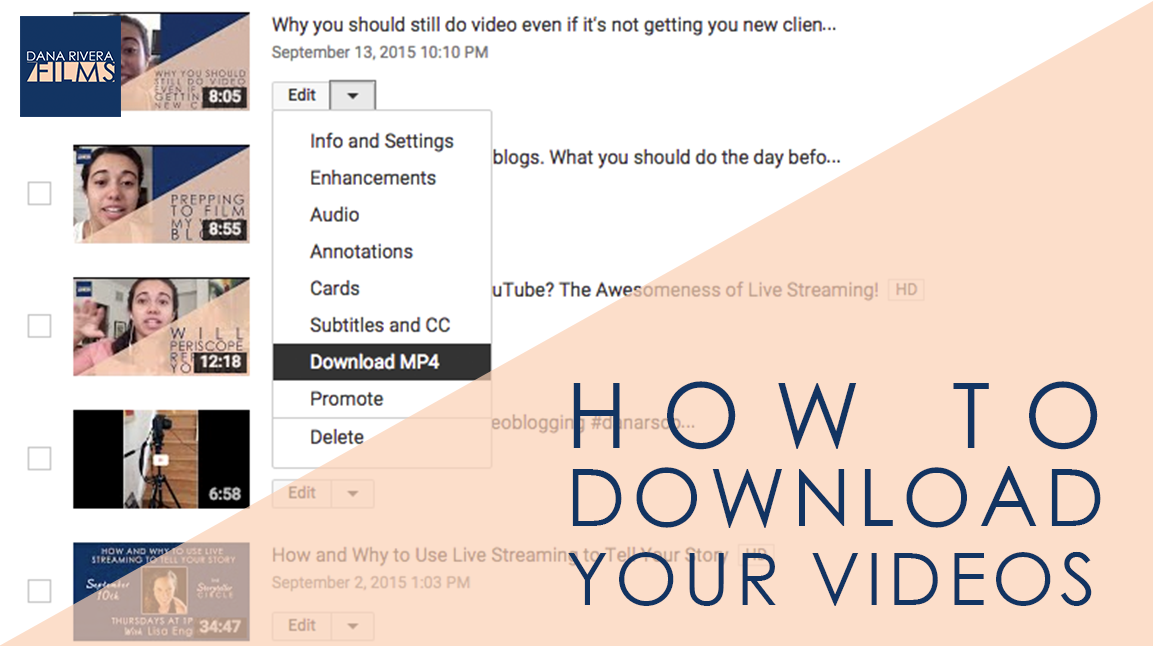
So let me show you how to do it. It’s super easy. All you have to do is go into your video manager, find the video you want to download, click the little arrow next to edit and choose download mp4.


It’s that simple. Oh and another quick tip, use a computer plugged in via ethernet for a faster download.


You can also do this on Vimeo and Wistia. On Vimeo just click on the video you want to download and go to the download button right under the video.

On Wistia choose your video, then go to video actions and choose download.

I wanted to make sure you knew about this simple but awesome feature so you don’t freak out if you lose a file or just can’t figure out where to go to download your video.


Now, I’d like to hear from you, what’s your biggest video question? Let me know in the comments below.


If you liked this video, don’t forget to subscribe and share it with your friends. If you want more, come on over and the Storyteller Circle, my private facebook group filled with wonderful entrepreneurs like you that are looking for more support in crafting their video stories and an inspirational community. I adore the people in this group so I post some of my best stuff there. When you join you’ll instantly get a bonus gift “How to Reach, Grow & Teach Your Online Community With Video”. Just click the button below. And remember Tell Your Story. Inspire Action. Make a Change. Thanks for watching and I’ll see you next time! 


If you liked this post please comment and share. I’d love to hear from you.
Want to use video to grow your biz AND be of service like crazy?

Get your guide to pick and choose the types of video you’d love to create, get your tools, and start creating!

Page 3 of 2512345...1020...Last »